What Should My Contractor Contact Form Ask?
Build a contractor contact form that asks only for useful job details, routes each request correctly, confirms receipt, and passes desktop and mobile tests.
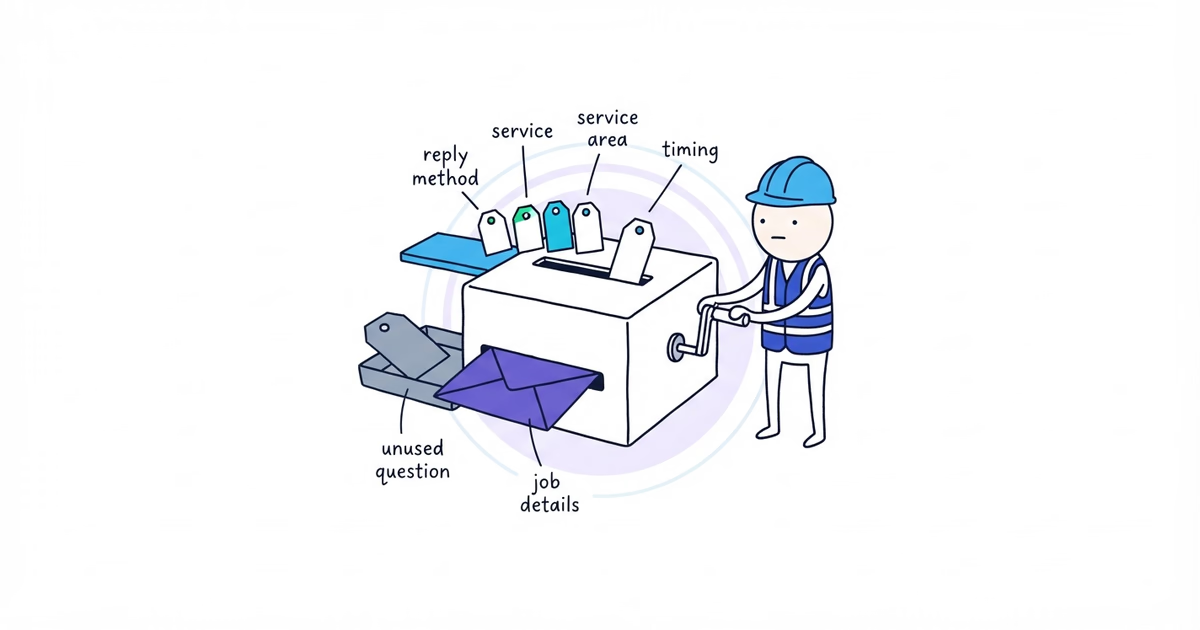
A contractor contact form should ask for the minimum information the team will actually use to contact the customer, confirm the service and area, route the request, and prepare the next step.
Start with:
- name;
- one reliable reply method, or phone and email only when the team uses both;
- service location or ZIP code when it changes coverage or dispatch;
- service or problem category, including Not sure;
- a short description of what is happening;
- timing, using choices the team can act on;
- optional photos when they help the team understand the job.
A form is too long when it asks for information nobody uses, and too short when every submission requires the same basic follow-up questions.
Here is the starting form for Northside Plumbing, a fictional company:
Request plumbing service

Full name *
How should we reply? * [show only methods Northside monitors]
Phone [required when selected or when Northside always calls]
Email [required when selected; otherwise optional or omitted]
Service ZIP code or address * [choose the minimum Northside uses]
What do you need help with? *
  Leak repair
  Drain clearing
  Water-heater repair
  Not sure
  Other
When do you need help? * [use choices tied to the real workflow]
Tell us what is happening [optional short description]
Add photos [optional; show file types and limits]
[service-response and privacy disclosure]
[separate optional marketing consent, only if Northside runs an approved program]

Submit service request
The brackets are decisions to finish before publishing. They are not customer-facing copy.
What You Need Before Building a Contractor Contact Form
Write down the accepted services and customers, service-area rule, minimum location detail, approved timing and urgent-case instructions, submission destination, owner and backup, photo handling, current disclosures, and the questions the team repeatedly asks after receiving a lead.
If possible, review 10–20 recent inquiries. Repeated follow-up questions are stronger field candidates than website template defaults.
Step 1. Match Every Contact Form Field to a Team Decision
Before choosing fields, answer:
Can we contact this customer?
Do we provide this service?
Do we serve this address?
Does the request follow a different route under our approved policy?
Who owns it?
What must we ask or prepare next?
Every required field should change at least one of those decisions.
Keep a ZIP code if it confirms coverage or routing, but remove a full address if nobody needs it yet. Keep a service choice if it changes routing. Remove How did you hear about us? if attribution is captured elsewhere.
For every proposed field, record:
Field:
Team decision it changes:
How the team uses it:
Required / Optional / Conditional:
Decision: Keep / Remove / Rewrite
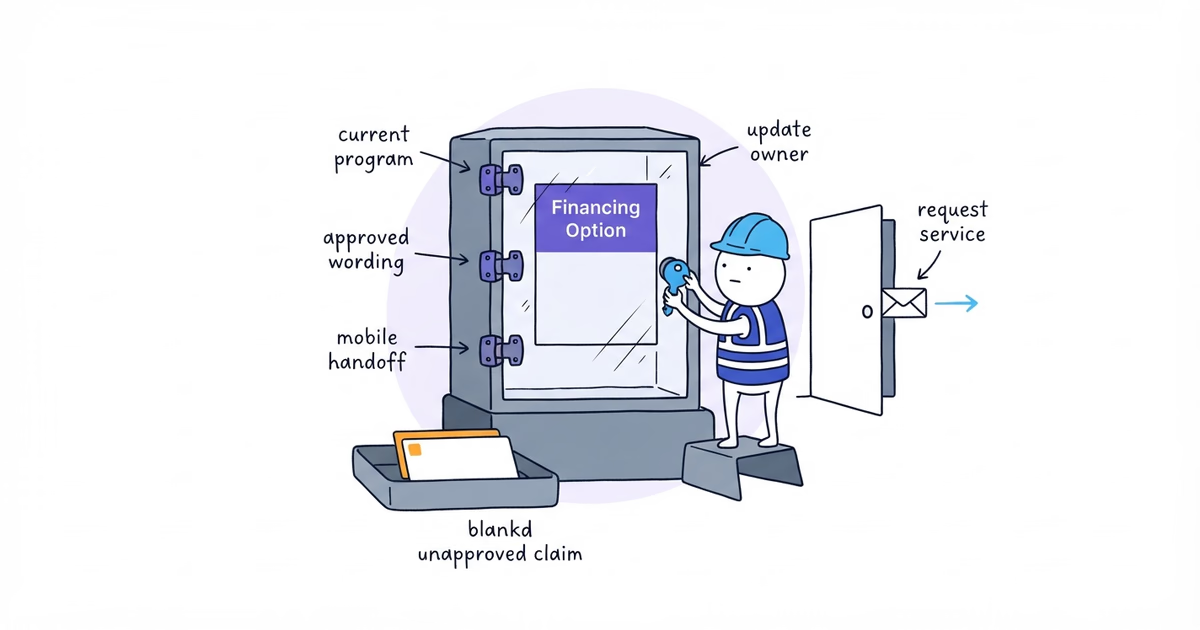
A marketing opt-in is not part of the minimum service request; add it only for a separate approved program.
Step 2. Choose the Shortest Usable Contractor Form Fields
Build the form in the order the customer understands the request.
Ask who the customer is and how to reply
Collect the customer’s name and at least one monitored reply channel. If the team always calls, require the phone. If it handles phone and email, offer a choice where the form supports conditional requirements.
Do not ask for a preferred reply method and then ignore it.
Ask what they need in customer language
Use names a customer recognizes:
What do you need help with?

○ Leak repair
○ Drain clearing
○ Water-heater repair
○ Not sure
○ Other
Do not expose internal price-book codes. Include Not sure so the customer does not have to choose a false answer to continue.
Ask for only the location detail needed now
A ZIP code may be enough to confirm the service area. A full address may be justified when routing, travel, property matching, or booking depends on it. Use the least precise location that supports the team’s next decision.
Ask about timing without pretending the form handles emergencies
Use choices the team can act on, such as:
When do you need help?

○ As soon as your team can respond
○ Within a few days
○ Planning ahead
Adapt the choices to the real workflow. Do not add Emergency to an unmonitored queue. Put the business’s approved instruction before the form instead:
Do not use this form for [verified urgent or safety situations]. Call [verified phone] during [verified coverage], or
follow [business-approved instruction].
The qualified business owner must provide that instruction. Do not copy safety advice from another contractor.
Ask for useful detail and evidence
Use a specific description prompt:
Tell us what is happening and where you noticed it.Make photos optional unless the team has a reason to require them. State supported types, size limits, upload status, what customers should avoid including, and who can access the files.
Step 3. Order and Label Contractor Contact Form Fields
Use this sequence:
- name;
- reply details;
- service location;
- service or problem;
- timing;
- optional description and photos;
- required disclosure or separate optional consent;
- submit action.
Give every control a visible label. Placeholder text can show an example, but it disappears when the customer types and should not replace the label.
Apply W3C’s guidance on labels, instructions, validation, errors, and confirmation:
- mark required fields in text, not color alone;
- group related radio buttons under one clear question;
- explain a required format before the error when it is not obvious;
- connect each error to its field;
- say how to repair the error;
- keep the customer’s other answers after a validation failure;
- make the submit action work by keyboard;
- use Submit service request, not a generic Submit.
Step 4. Write a Contact Form Success Message
The success state should answer:
- Did the request arrive?
- What happens next?
- When will the team respond, if it can promise a verified window?
- What should the customer do if the situation changes?
Northside’s template is:
We received your service request.

Northside Plumbing will review the details and [verified next step] during [verified hours or response window]. This is
a request, not a confirmed appointment. For [verified urgent situation], call [verified phone and policy].

Reference: [request ID, if the system creates one]
Do not say Your appointment is booked unless the system reserved actual capacity. Do not promise We will contact you within 15 minutes unless the team consistently supports that response window.
Step 5. Decide Whether to Say “Free Estimate”
Before writing Get a free estimate, ask:
- Is the estimate free for every service advertised this way?
- Can diagnosis, inspection, travel, design, or urgent attendance create a fee?
- Does the customer learn about a fee before agreeing to it?
- Is the free item an estimate, quote, consultation, or inspection?
If the policy varies, use Request an estimate or Request service. The contractor website pricing guide helps choose an accurate fixed price, range, fee, or minimum before the form makes a promise. Define any genuinely free scope:
Request a free [specific estimate type] for [eligible work]. [State the verified limit or next step].Step 6. Route Contractor Form Submissions to an Owner
Complete this record before launch:
Destination system:
Primary owner and backup:
Monitored hours:
Required first action:
Duplicate rule:
Photo access and retention rule:
Delivery-failure alert and owner:
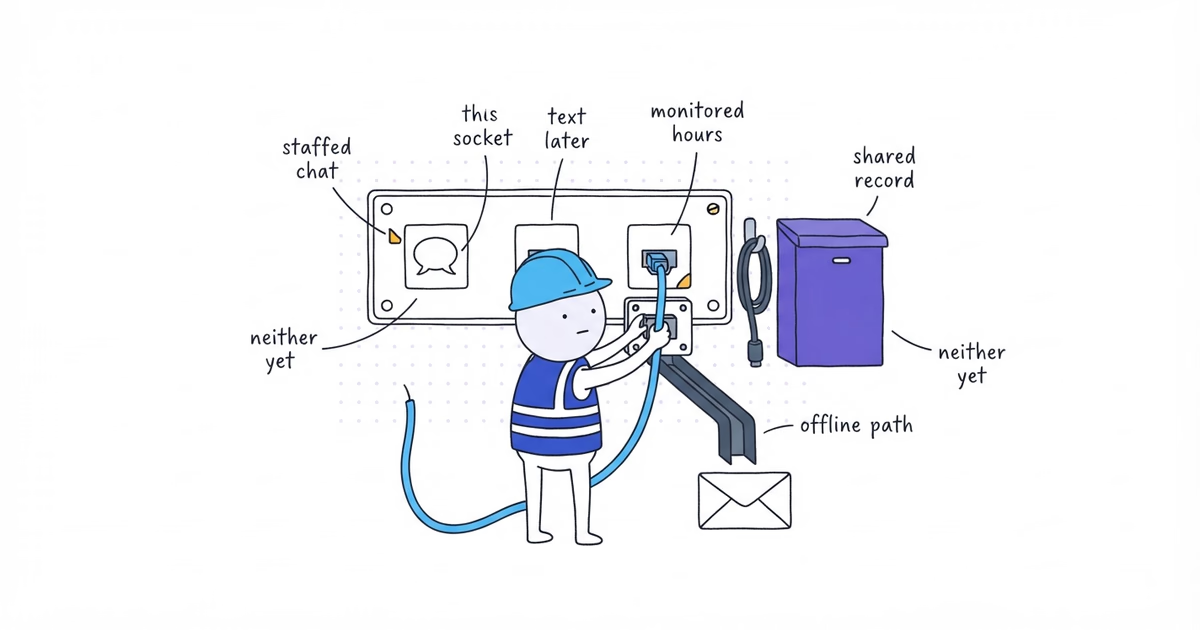
Send the request to a system the team checks. If an integration fails after acceptance, preserve it in a recoverable queue where supported and alert the owner.
Keep permission to reply about the requested service separate from optional enrollment in promotional messages. Add a marketing checkbox only for a real program with approved wording, records, and stop handling.
Step 7. Add Contact Form Spam Protection
Use maintained platform protections such as server-side validation, rate limits, a honeypot, reputation checks, or an accessible challenge. Do not impose a difficult challenge just because it is the default.
The success message should appear only after the form system accepts the request. An invalid submission should not look successful. A rejected upload should identify the file and explain the supported type or size.
Spam protection is working when it reduces unwanted submissions without blocking the ordinary signed-out customer test.
Step 8. Test the Contact Form on Desktop and Mobile
Create clearly labeled fictional test data and complete:
- one valid desktop submission;
- one missing required field;
- one invalid phone or email format;
- Not sure and Other service choices;
- an out-of-area ZIP code, if the form applies an area rule;
- a valid and rejected photo upload;
- one mobile submission using the displayed keyboards;
- a double tap or refresh after success;
- the primary notification and backup/failure path;
- the visible success state and matching destination record.
For each valid test, verify:
Page showed success: Yes / No
One request reached the destination: Yes / No
Correct source/page recorded: Yes / No / Not configured
Owner received the alert: Yes / No
Customer next step was accurate: Yes / No
Duplicate record created: Yes / No
Label or remove the test record under the team’s record policy.
Contractor Contact Form Failure and Retest Example
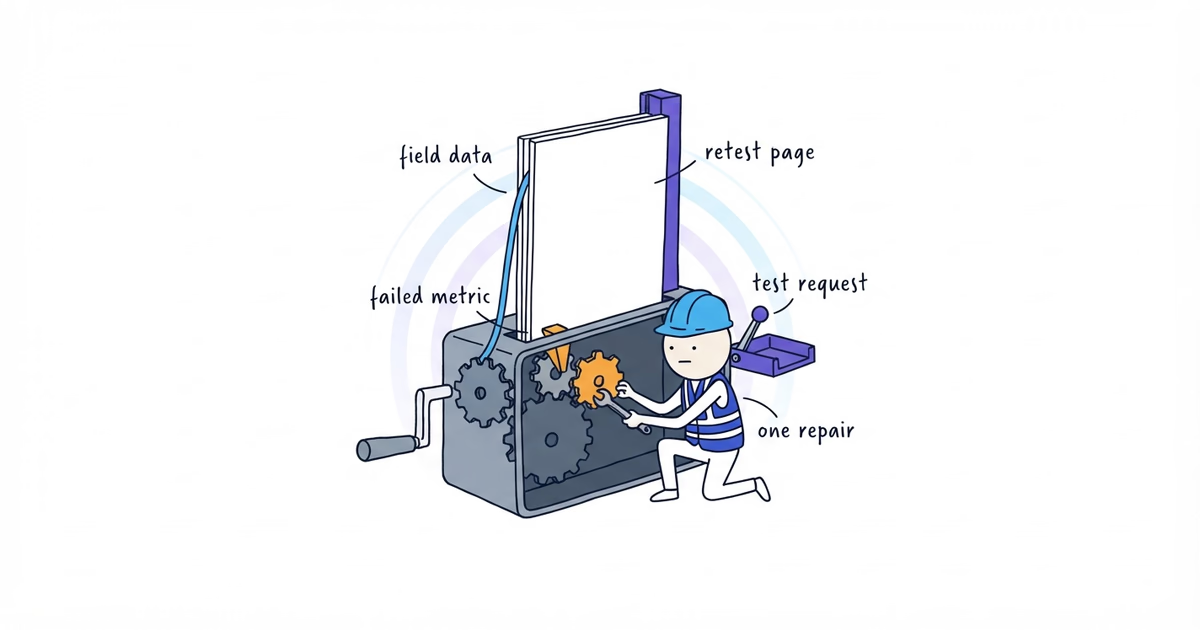
This hypothetical example demonstrates the acceptance rule; it is not a real Northside result:
Test: Valid mobile request with one photo
Page showed success: Yes
Request reached destination: No
Owner received alert: No
Customer next-step message: Accurate, but unsupported because delivery failed
Duplicate created: No
Result: Blocker — the website claimed receipt without team receipt
Repair owner: Website administrator
Repair: Restore form-to-inbox delivery and add a delivery-failure alert to the office manager
Retest: Pass — one request reached the test inbox, one owner alert appeared, and no duplicate was created
A success page is not enough. Publish only after the same accepted request appears in the system the team monitors.
Contractor Contact Form Checklist
The form is ready when:
- every required field has an operational purpose and service choices include an uncertainty path;
- location and timing match the real workflow;
- urgent-case guidance comes from the business’s approved policy;
- labels, instructions, errors, and keyboard behavior work;
- the submit button and success state describe what actually happened;
- free-estimate wording matches the written policy;
- service replies and optional marketing enrollment are not blurred;
- the destination, owner, backup, and failure path are recorded;
- a valid mobile test reaches the correct system exactly once.
Stop when the team has enough information to take the next step reliably. Do not add fields to eliminate every possible clarification question.
Frequently Asked Questions About Contractor Contact Forms
Should a contractor contact form be one page or multiple steps?
Use one page when the usable field set is short. A multi-step form can help when later questions depend on earlier answers, but it must preserve entered information, show progress, and pass the same delivery and mobile tests.
Should I show an email address next to my contact form?
Show it only when the team monitors and routes that inbox reliably. It can be a useful fallback, but it should not bypass job details the team needs or create a second unowned intake path. Test both routes.
Sources
- contractor-website
- contractor-contact-form
- estimate-request-form
- form-fields
- contractor